Beyond the Fog: 5 Essential Spots for Glimpsing the Bridge
"The bridge is only as beautiful as the light that hits it."
Don't let a wasted trip to the Marin Headlands ruin your San Francisco itinerary. This guide breaks down the five essential viewpoints, telling you exactly when to show up and why certain spots work better for your specific photography style.
* Match the Vibe: Choose between dramatic heights, rugged coastline, or easy accessibility. * Timing is Key: Understand how "Karl the Fog" dictates your successful shot. * Logistics First: Plan for parking, wind, and walking distances to avoid frustration.
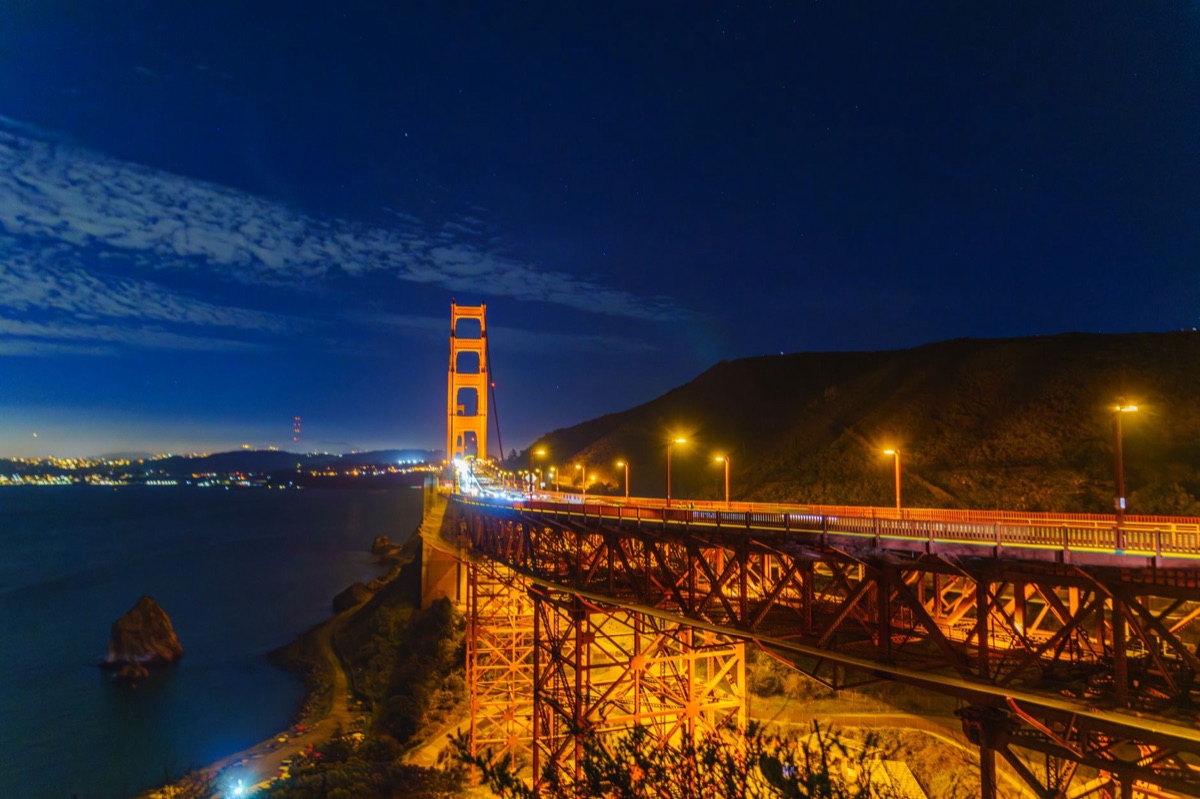
Which viewpoint matches my vibe? I remember standing at the edge of a windy bluff in the Marin Headlands, my fingers numb from the Pacific breeze, waiting for a single sliver of light to hit the orange towers. The bridge looked like a ghost through the mist, but once the sun broke through, the entire valley transformed.
Spot 1: Battery Spencer (The Dramatic Icon) This is the quintessential shot you see on postcards. Positioned high above the bridge on the north side, it offers a sweeping, downward perspective that makes the towers look massive against the city skyline.
* Optimal Timing: Arrive one hour before sunset to catch the light hitting the towers while the city begins to glow. * The Hurdle: Parking is extremely limited and competitive. You will likely need to walk a significant distance from a remote lot to reach the best ledge.
Spot 2: Marin Headlands/Hawk Hill (The Rugged Perspective) If you want the bridge to look like it’s part of a wild, natural landscape, this is your destination. The elevation provides an unobstructed view of the bridge stretching toward the Pacific.
* The Angle: This spot is perfect for capturing the sheer scale of the suspension cables against the vastness of the bay. * Accessibility: You will need to navigate winding, steep roads. Ensure your vehicle has enough fuel and your brakes are in good condition before heading up.
Spot com 3: Golden Gate Vista Point (The Easy Access) Located just north of the bridge, this is the most accessible spot for travelers who don't want to hike or deal with steep climbs. It offers a direct, eye-level view of the bridge.
* Pro-Tip: Because it is so easy to reach, it is always crowded. Visit during a weekday morning to avoid the weekend tourist crush. * The Fog Factor: This is the best spot to frame the bridge as it emerges from thick blankets of fog.
Spot 4: Crissy Field/South Side (The Urban Connection) Walking through the Presidio toward the water, you get a view that pairs the bridge with the San Francisco shoreline and the city's urban texture.
* The Perspective: This is excellent for shots where you want the bridge to appear as if it is "entering" the frame from the city side. * Complementary View: It pairs beautifully with shots taken from Sausalito, offering a complete visual story of the bay.
Spot 5: Lands End/Coastal Approach (The Hidden Gem) For those willing to hike, the trails around Lands End provide a unique, low-angle perspective that feels much more intimate and less "touristy."
* Navigation: You will need sturdy walking shoes. * Unique Element: You can capture the bridge through coastal flora or rocky foregrounds, adding depth that the higher viewpoints lack.
The trails can be uneven and slippery depending on the weather. But how do you know which spot to pick when the weather turns unpredictable?
| Viewpoint | Difficulty | Best For | Parking Availability |
|---|---|---|---|
| Battery Spencer | High | Dramatic/Iconic Shots | Very Low |
| Marin Headlands | Medium | Rugless/Natural Scenery | Moderate |
| Vista Point | Low | Easy/Crowd-Friendly | High |
| Crissy Field | Low | Urban/City Integration | High |
| Lands End | High | Unique/Low-Angle Shots | Low |
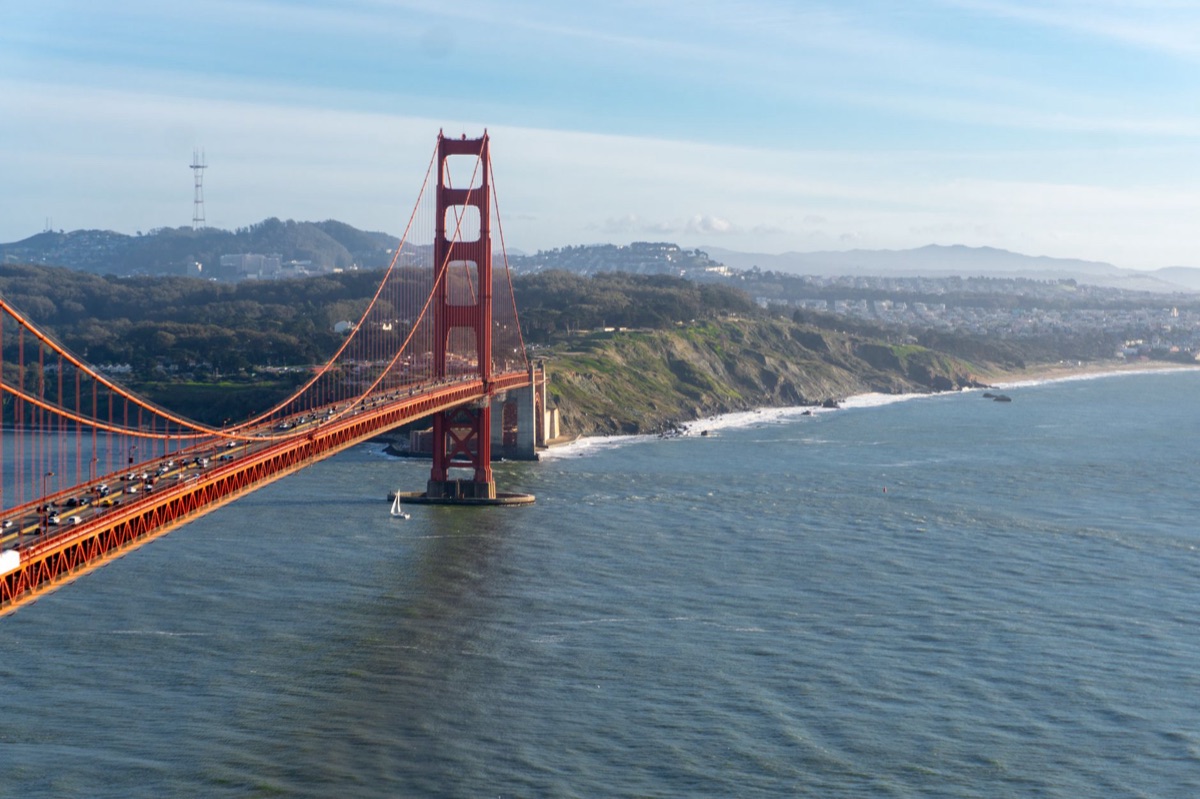
How can I master the fog and light? I once spent three hours at a viewpoint only to realize I had arrived during the peak of a heavy fog bank that obscured everything but the base of the towers. In San Francisco, you don't just fight the light; you fight the atmosphere.
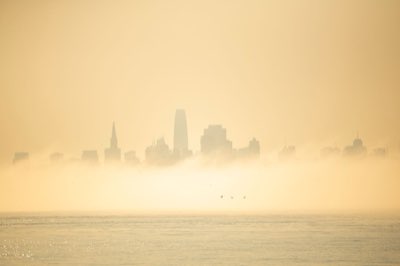
The "Karl the Fog" variable is the single most important factor in your photography. The fog can roll in within minutes, turning a clear blue sky into a wall of white.
* The High-Ground Strategy: If the fog rolls in low, move to a higher viewpoint like Hawk Hill to stay above the clouds. * Wait for the "Break": The most dramatic shots often happen during a "break," when the fog partially clears, leaving the bridge peeking through the mist.
Understanding the difference between Golden Hour and Blue Hour will change your results.
* Golden Hour: Aim for roughly 30 to 60 minutes before sunset. This provides the warm, saturated orange tones that complement the bridge's color. * Blue Hour: Arrive 20 minutes after sunset. The deep blue of the sky provides a stunning, moody contrast to the bridge's structure.
If you miss these windows, don't panic. Mid-day photography can still work if you focus on composition rather than light. Use the geometric lines of the cables and the textures of the steel to create interest when the sun is directly overhead and the light is flat.
But even with perfect light, a lack of preparation can ruin the moment.
Beyond the Shot: Logistics for a Successful Visit
A beautiful photo is useless if you are too exhausted or stressed to enjoy the rest of your trip. Planning your logistics is just as important as choosing your lens. In 2025, travel planning became even more vital as visitor numbers surged following the post-pandemic travel boom.
According to World Bank, the United States recorded international tourist arrivals of 45,037,000 in 2020.
When planning your route, consider the following checklist to ensure a smooth experience:
- Check the Weather/Fog Forecast: Use local maritime forecasts, not just standard weather apps, to predict visibility.
- Prepare for Temperature Drops: Even in July 2026, the wind at the viewpoints can be biting. Always carry a windbreaker or light layer.
- Secure Your Belongings: If you are leaving your car at a trailhead, never leave bags or expensive camera gear visible in the seats.
- Plan Your Transit: If you aren't driving, research the local bus routes (Muni) that service the Presidio and Golden Gate areas.
- �5. Check Trail Conditions: If you choose Lands End or remote Marin trails, verify they are open and safe for walking.
While the bridge is the star, remember that the journey through the Presidio or the Marin Headlands is part of the experience. Do not spend your entire trip staring through a viewfinder; leave time to walk the trails and breathe in the salt air.
But what happens when you actually arrive at the scene?
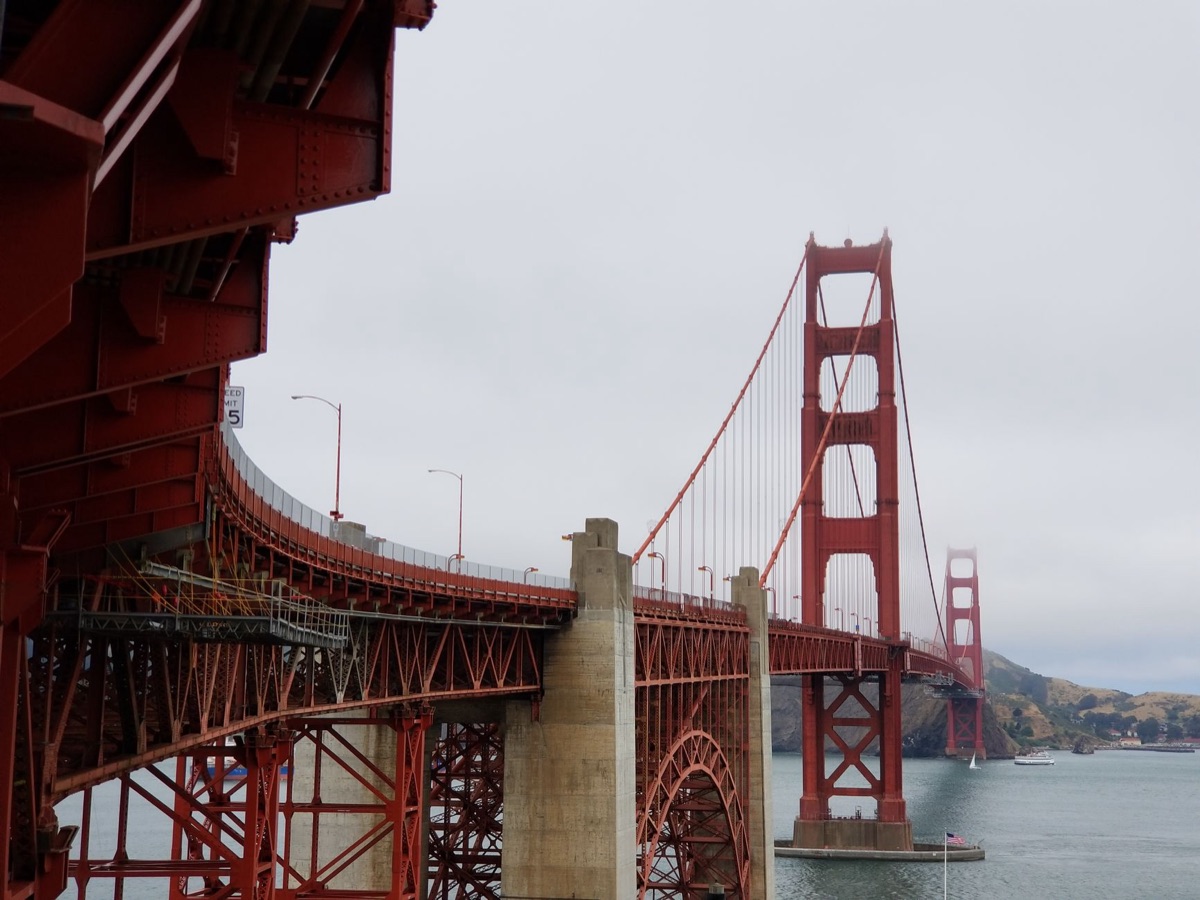
What Do I Do When I Get There?
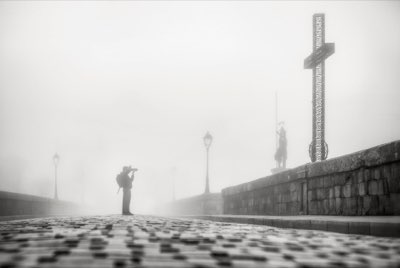
I remember arriving at Battery Spencer at 5:30 AM in the summer of 2025, expecting a sunrise. Instead, I was met by a wall of white so thick I couldn't see my own boots. It taught me that you need a plan for when the "perfect shot" doesn't happen.
If you find yourself at a viewpoint and the conditions aren't what you expected, follow these steps to salvage your photography session:
- Assess the Visibility: If the fog is too thick at the base, head to a higher elevation like Hawk Hill to see if you can rise above the layer.
- Change Your Perspective: If the bridge is obscured, focus on the textures of the foreground—the rocks, the cypress trees, or the crashing waves.
- Wait for the Movement: Fog is dynamic. Set up a tripod, grab a coffee, and wait 20 minutes. The wind often shifts the fog in ways that create sudden, beautiful openings.
- Check Your Battery and Storage: High-altitude wind and cold can drain batteries faster than usual. Ensure you have at least two spares.
- Document the Atmosphere: Sometimes a shot of the fog swallowing the towers is more evocative than a clear shot. Embrace the mood of the day.
It is easy to get caught up in the hunt for the perfect image, but there is a fine line between a successful trip and an exhausting one.


Comments 0